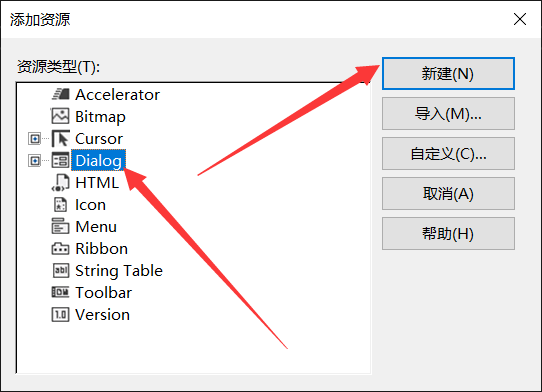
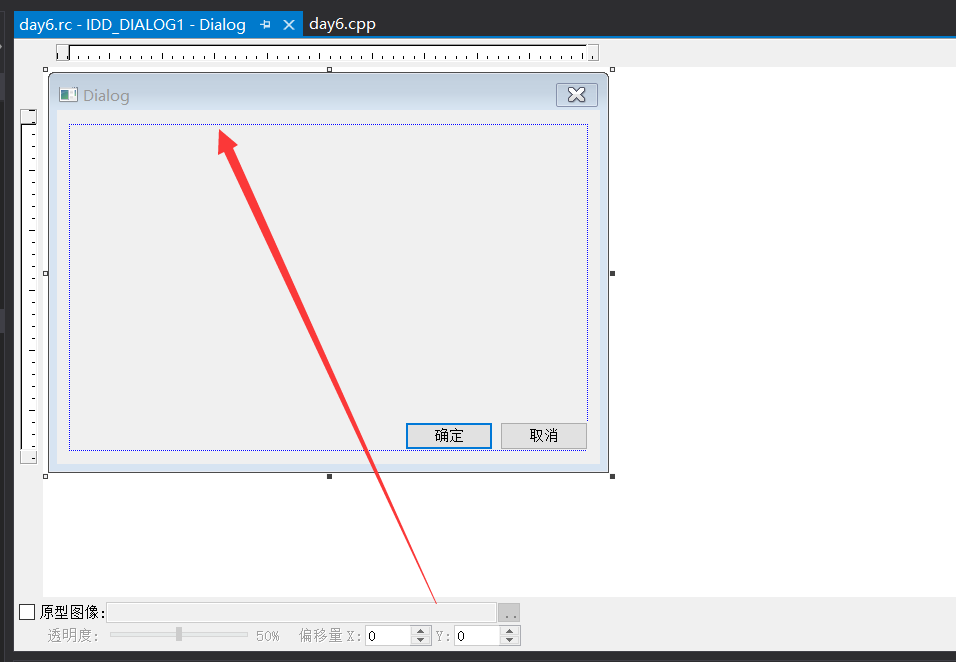
对话框的创建
模态对话框和非模态对话框的区别就是 非模态对话框 如果被打开了 你还可以继续操作这个对话框后面的其他对话框

就比如这个属性对话框就是一个非模态对话框 打开它的同时 一样可以操作后面的main.app这些
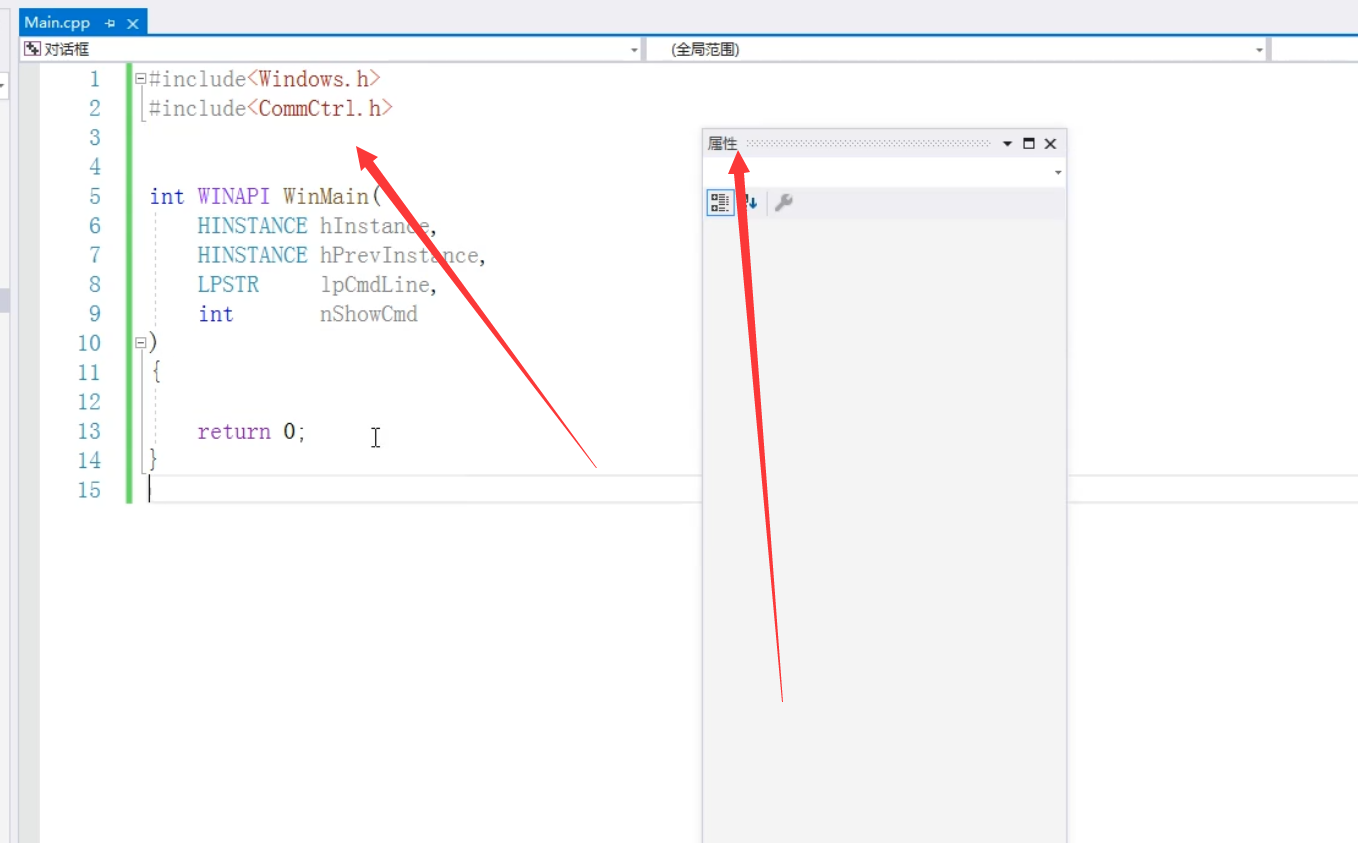
创建非模态对话框
往对话框添加东西 也是很简单的 直接拖
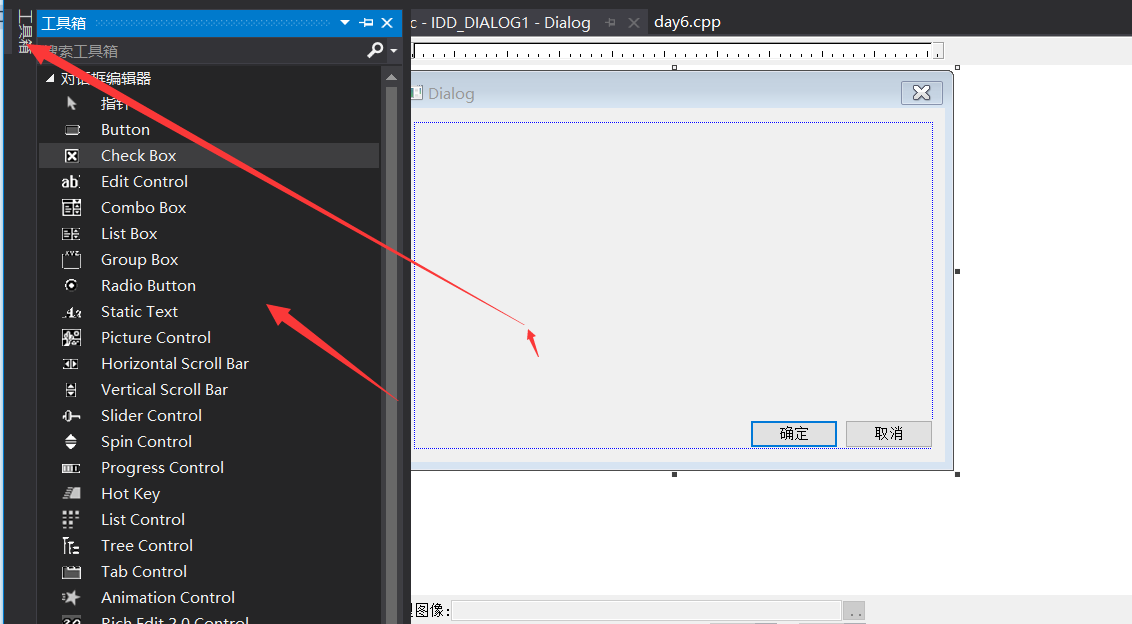
直接点工具箱 想添加什么 拖过去就行了
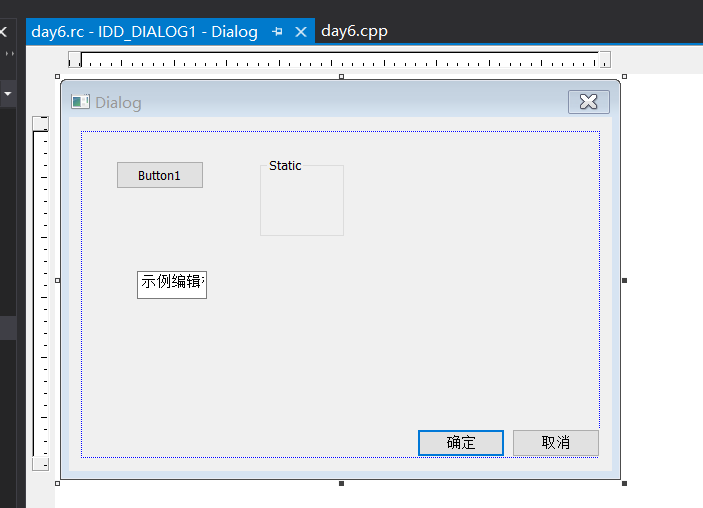
然后保存 然后在来运行刚才的程序
添加的东西也都在上面
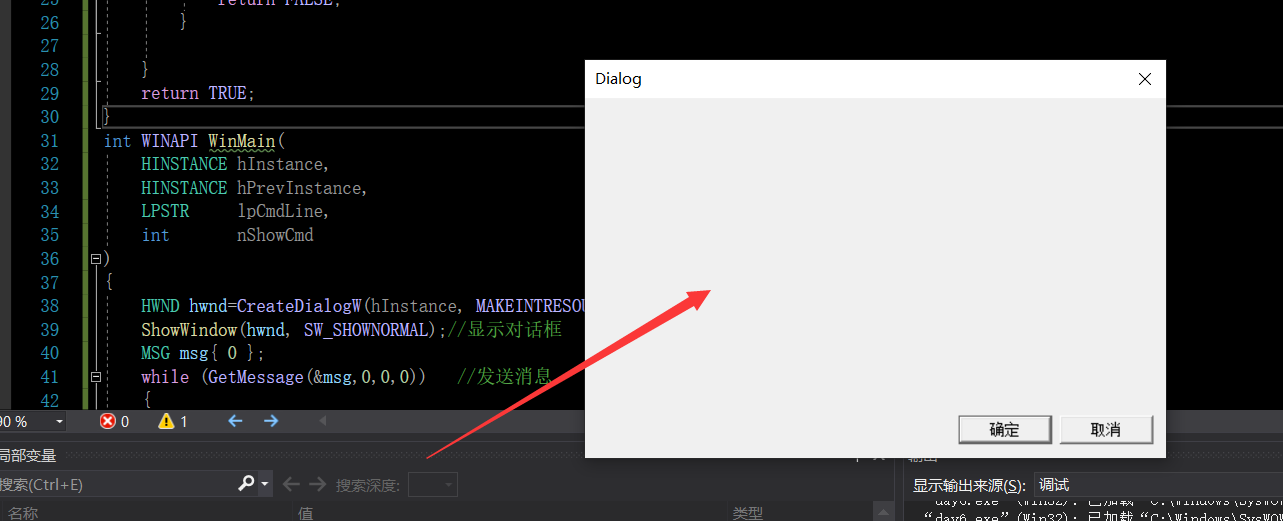
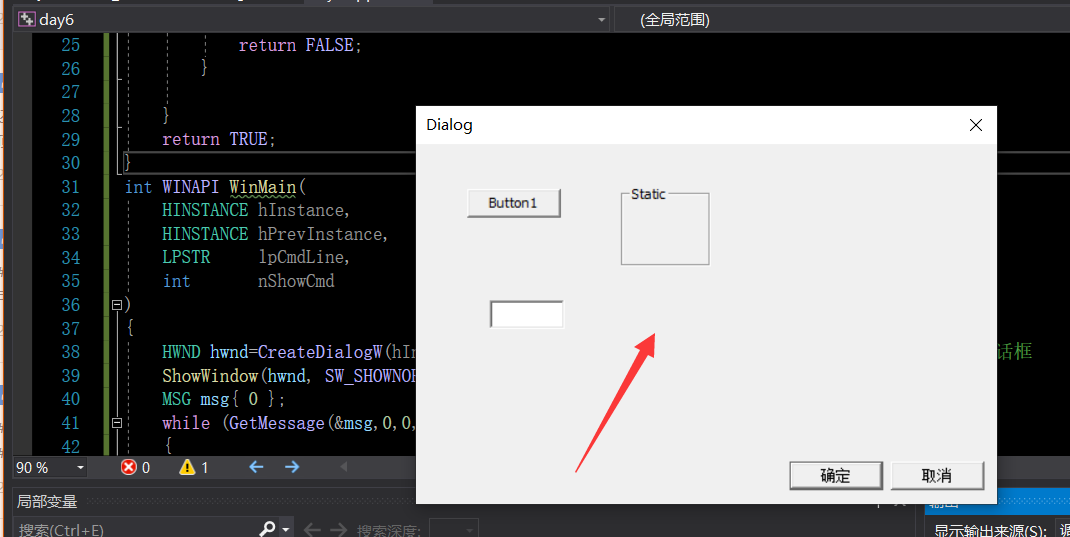
创建模态对话框

要用EndDialog 函数来终止
1
2
3
4
5
6
7
8
9
10
11
12
13
14
15
16
17
18
19
20
21
22
23
24
25
26
27
28
29
30
31
32
33
34
35
36
37
38
39
40
41
42
43
44
45
46
47
48
49
50
| #include<Windows.h>
#include<CommCtrl.h>
#include"resource.h"
INT_PTR CALLBACK Dlgproc(
HWND hWnd,
UINT Umsg,
WPARAM wparam,
LPARAM lparam
)
{
switch (Umsg)
{
case WM_INITDIALOG:
{
MessageBoxW(hWnd, L"窗口创建了", L"标题", MB_OK);
break;
}
case WM_CLOSE:
{
EndDialog(hWnd, 0);
}
default:
{
return FALSE;
}
}
return TRUE;
}
int WINAPI WinMain(
HINSTANCE hInstance,
HINSTANCE hPrevInstance,
LPSTR lpCmdLine,
int nShowCmd
)
{
DialogBoxW(hInstance, MAKEINTRESOURCEW(IDD_DIALOG1), NULL, Dlgproc);
return 0;
}
|